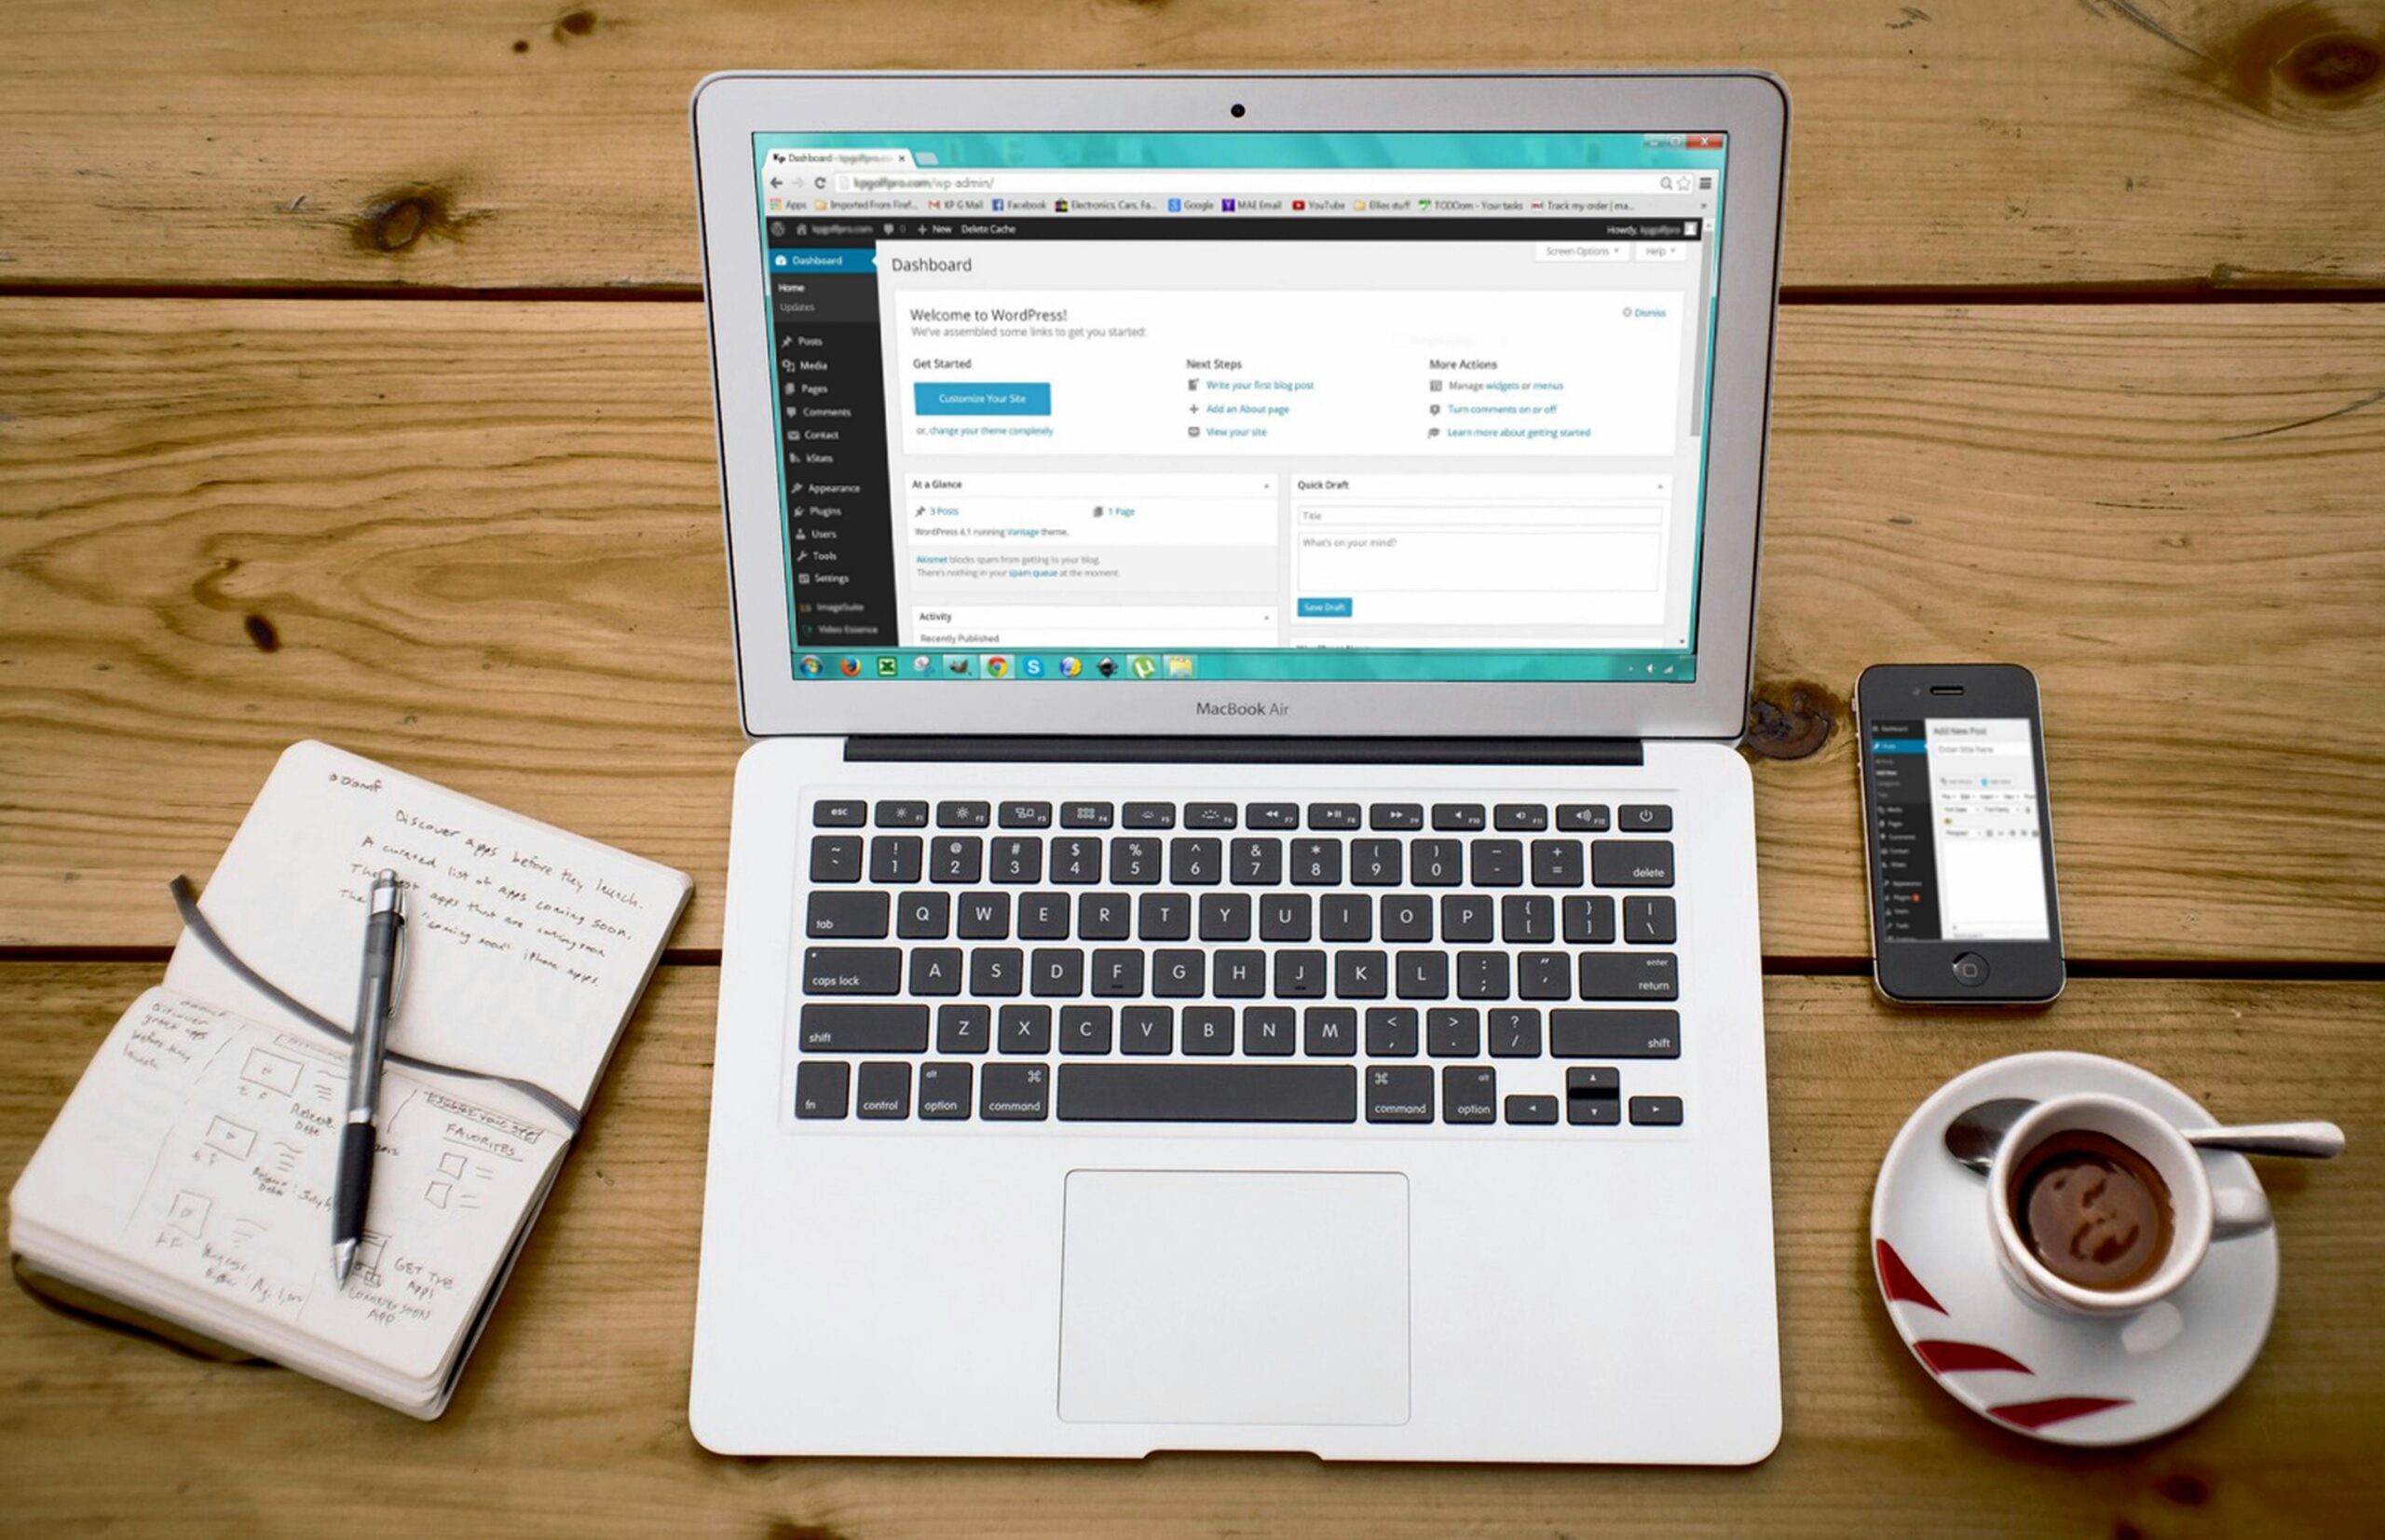
Changing the theme of your WordPress website can breathe new life into your online presence, enhancing both its visual appeal and functionality. Whether you’re looking to update your site’s design to reflect your brand better or improve user experience, switching WordPress themes can be a straightforward process if done correctly. In this comprehensive guide, we’ll walk you through each step of changing your WordPress theme, from backing up your site to customizing your new theme. By following these detailed instructions, you can ensure a smooth and hassle-free transition, making your website look and perform better than ever.
First, it’s essential to back up your website. This step ensures that you can restore your site if anything goes wrong during the theme change. Plugins like UpdraftPlus or All-in-One WP Migration are excellent tools for creating a complete backup of your site, including your database, themes, plugins, and media files. Once you have installed and activated the backup plugin, follow the instructions to create a backup and store it in a secure location, such as an external hard drive or cloud storage service.
Next, to avoid any disruption for your visitors, enable maintenance mode. Plugins like WP Maintenance Mode can help you display a maintenance message while you work on the changes. This is important because it prevents visitors from seeing a broken or incomplete site during the transition. After installing and activating the maintenance mode plugin, customize the maintenance message to inform your visitors that your site is undergoing updates and will be back shortly.
Now, navigate to your WordPress dashboard and go to Appearance > Themes to choose a new theme. Here, you can browse available themes or upload a theme file from an external source by clicking on Add New and then Upload Theme. When selecting a new theme, consider factors such as design, functionality, and compatibility with your existing plugins. Reading reviews and checking the theme’s ratings can also help ensure it meets your needs. Once you have selected a theme, click on Install to add it to your site. For more detailed guidance, you can refer to WPBeginner’s guide.
Before activating the new theme, use the Live Preview option to see how it will look on your site. This helps you identify any potential issues without making the theme live. During the preview, check for any layout issues, missing elements, or broken links. Make a list of any adjustments that need to be made before activating the theme. This step allows you to ensure that the new theme will provide a seamless experience for your visitors.
Once you’re satisfied with the preview, click on Activate to apply the new theme to your website. Your site will now display the new design. After activation, visit your site to see how it looks with the new theme. Check all pages and posts to ensure that the content is displayed correctly. If you notice any issues, refer to the list you made during the preview and make the necessary adjustments.
After activation, go to Appearance > Customize to adjust the theme settings. Here, you can modify the layout, colors, fonts, and other design elements to match your brand. The customization options will vary depending on the theme you have chosen. Take your time to explore all the available settings and make changes that enhance the overall look and feel of your site. You can also use the Additional CSS section to add custom styles if needed. For more tips on customization, check out ThemeIsle’s guide.
If you had any custom code snippets in your old theme’s functions.php file, make sure to add them to the new theme. Alternatively, use a plugin like WPCode to manage your custom code snippets. This ensures that any custom functionality you had in your previous theme is retained in the new theme. Be cautious when adding custom code to avoid conflicts or errors. Test the code thoroughly to ensure it works as expected.
Thoroughly test your website to ensure everything is working correctly. Check all pages, posts, and functionalities to make sure there are no issues. Pay special attention to forms, navigation menus, and interactive elements. Use tools like Google Search Console and Google Analytics to monitor your site’s performance and identify any potential issues. Testing your site thoroughly helps you catch and fix any problems before your visitors encounter them.
Once you’re confident that everything is working perfectly, disable the maintenance mode to make your site accessible to visitors again. Go back to the maintenance mode plugin settings and turn off the maintenance mode. This will allow your visitors to see the new design and enjoy the updated user experience.
Finally, take another backup of the new WordPress theme. This ensures you have a restore point with the new design. Use the same backup plugin you used earlier to create a new backup. Store this backup in a secure location along with the previous backup. Having a recent backup ensures that you can quickly restore your site if any issues arise in the future.
Once you have been able to change the theme on your website refer to this article, to unlock more customization options.


