Creating a new post in WordPress can seem daunting for beginners, but it doesn’t have to be. In this guide, we’ll walk you through the process step-by-step, from accessing the post editor to publishing your content. Whether you’re looking to share your latest thoughts, showcase your work, or engage with your audience, this tutorial will help you confidently create and manage your posts. Let’s dive in and make your WordPress experience as smooth and enjoyable as possible!
Step 1: Log In to Your WordPress Dashboard
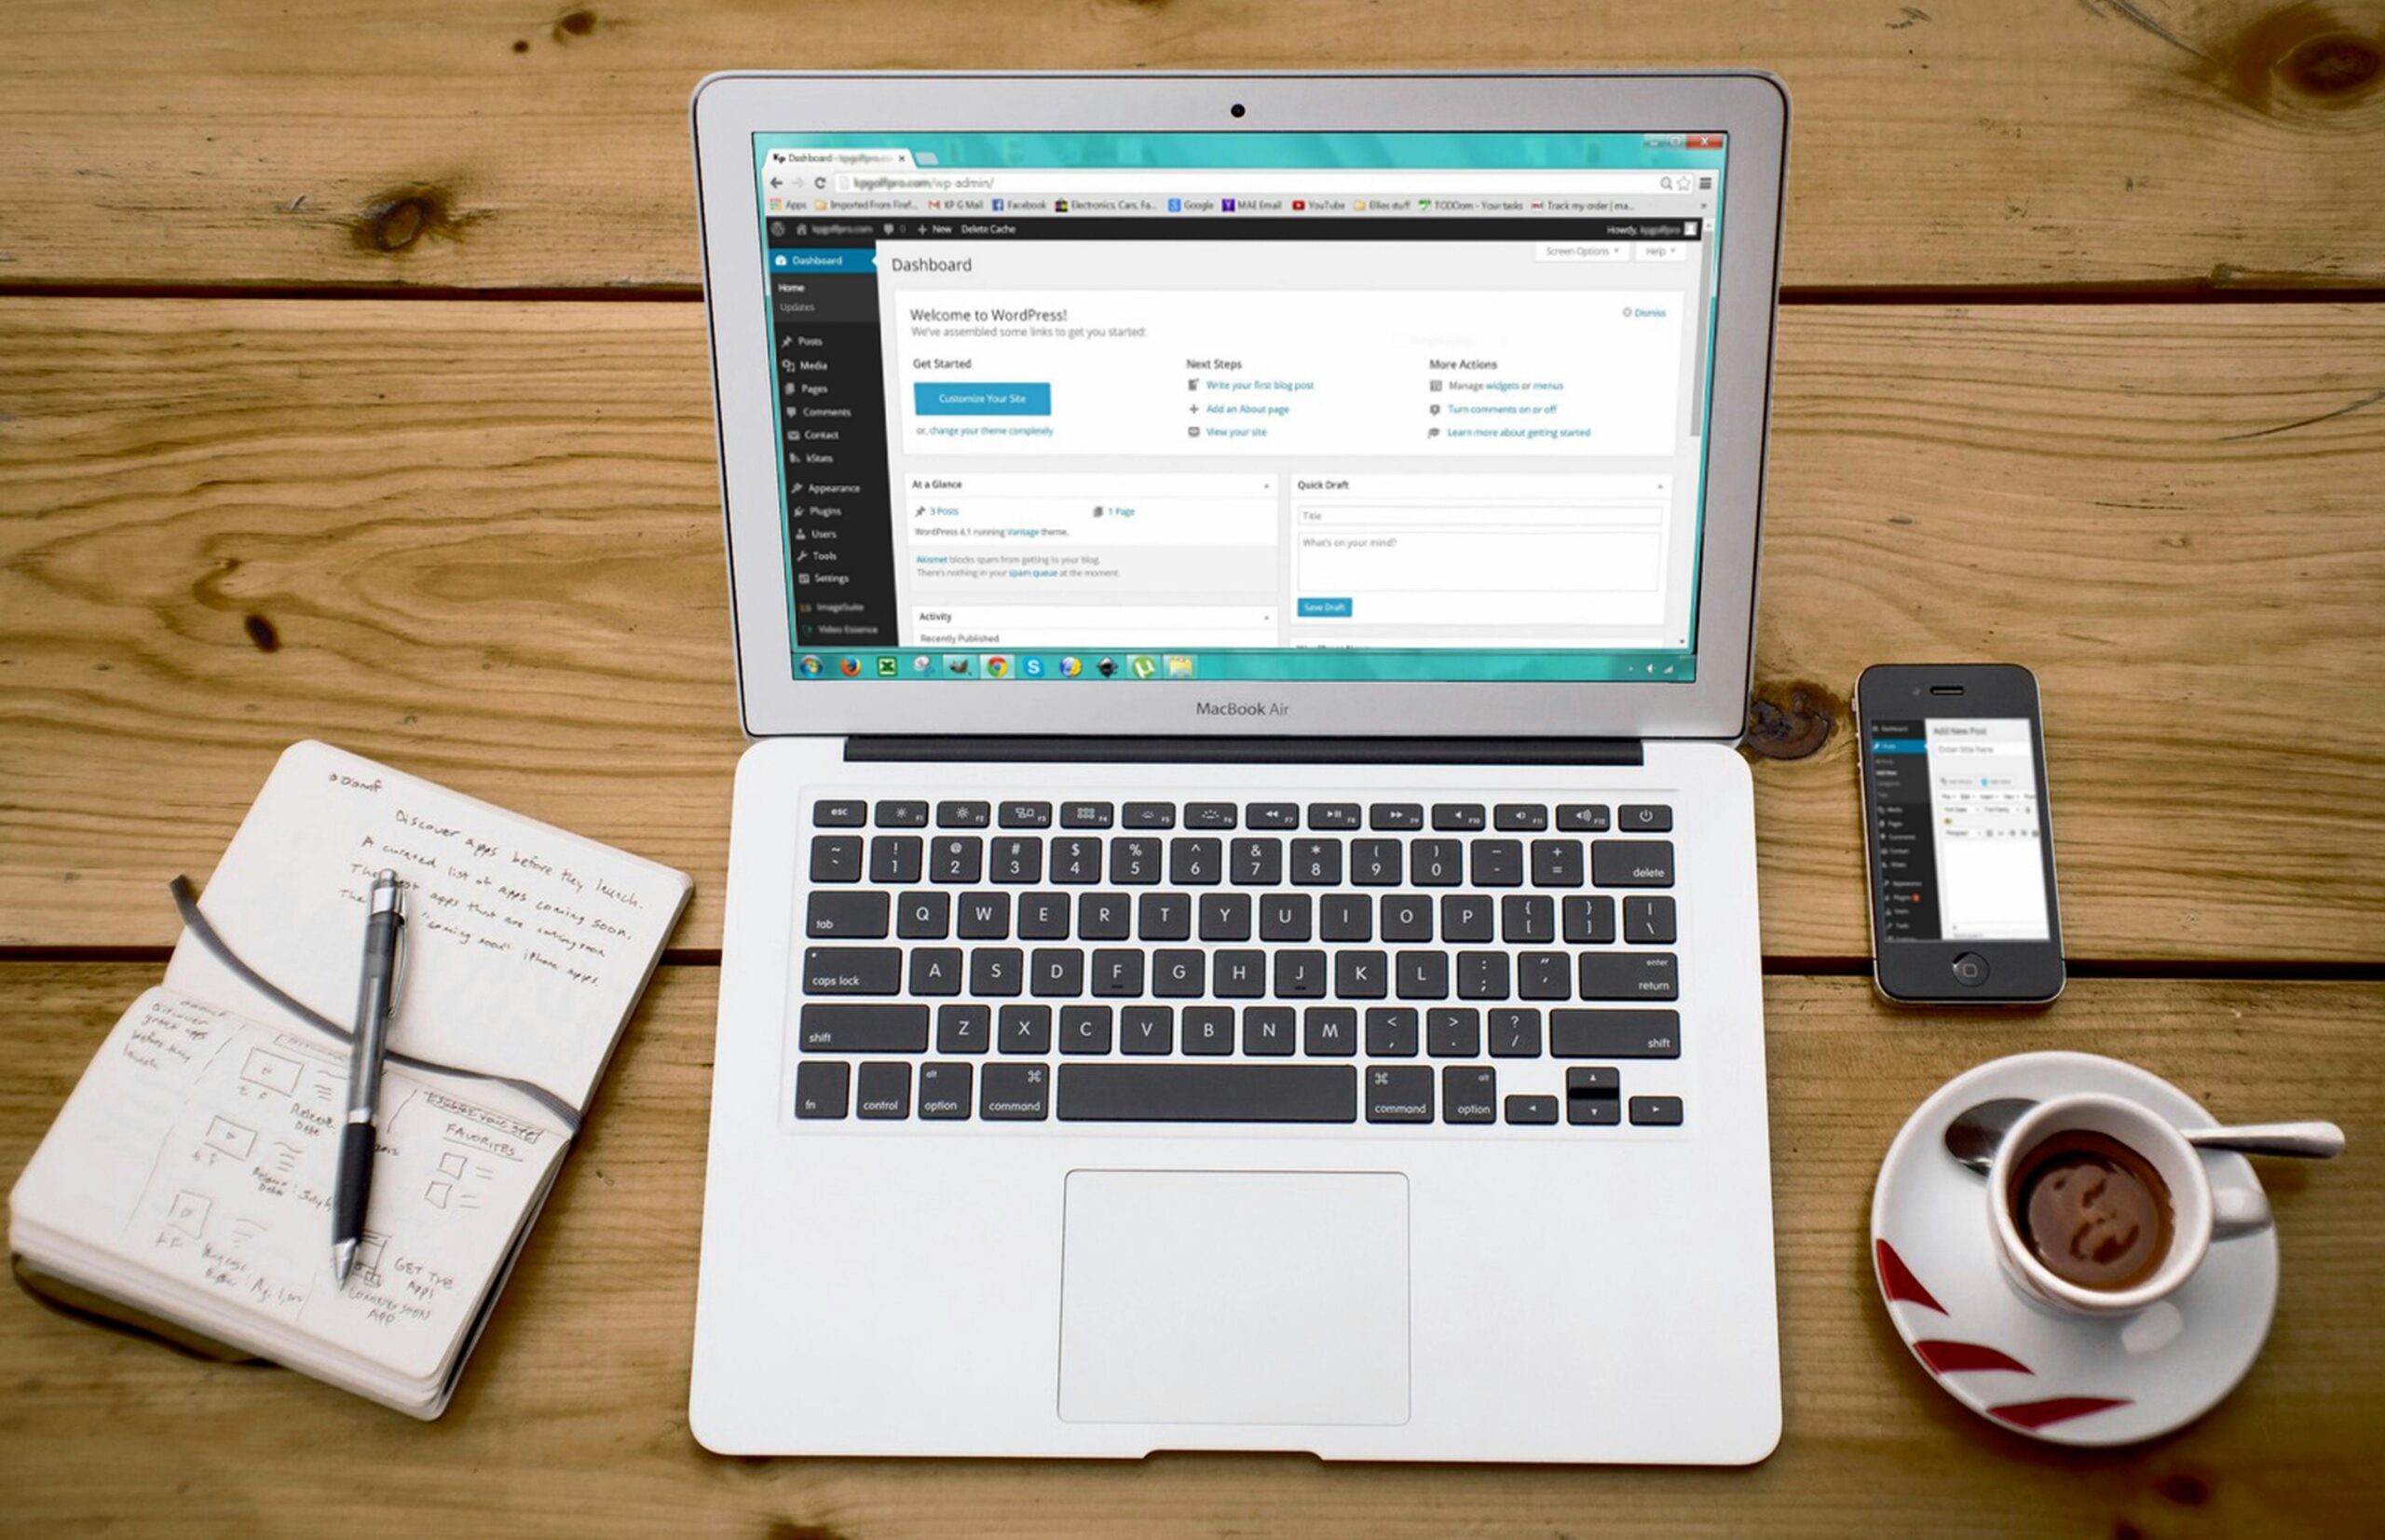
First, log in to your WordPress dashboard. This is the control center for your blog, where you can manage posts, pages, comments, and more. To log in, go to yourdomain.com/wp-admin and enter your username and password.
Step 2: Navigate to the Post Editor
Once logged in, navigate to the left-hand menu and click on Posts > Add New. This will open the post editor where you can start creating your blog post. The post editor is where the magic happens, allowing you to craft and format your content.
Step 3: Add a Title
At the top of the post editor, you’ll see a field labeled Add Title. Enter the title of your blog post here. Make sure it’s catchy and relevant to the content you’re about to write. A good title can attract readers and give them a clear idea of what to expect from your post.
Step 4: Write Your Content
Below the title field, you’ll find the main content area. Here, you can start writing your blog post. WordPress uses a block editor, which allows you to add different types of content blocks such as paragraphs, headings, images, and videos. To add a new block, click the + button.
Tips for Writing Engaging Content:
- Start with a Hook: Begin your post with an interesting fact, question, or anecdote to grab your readers’ attention.
- Be Clear and Concise: Write in a clear and concise manner. Avoid jargon and complex sentences.
- Use Subheadings: Break your content into sections with subheadings to make it easier to read.
- Include Personal Insights: Share your personal experiences and insights to make your content more relatable.
- For more tips follow these additional tips.
Step 5: Format Your Post
Use the formatting options available in the block editor to style your text. You can add headings, lists, quotes, and more to make your post visually appealing and easy to read. Proper formatting helps in improving the readability of your post.
Formatting Tips:
- Headings: Use headings (H2, H3, etc.) to organize your content.
- Lists: Use bullet points or numbered lists to highlight key points.
- Quotes: Use blockquotes to emphasize important quotes or statements.
- Bold and Italics: Use bold and italics to highlight important words or phrases.
Step 6: Add Images and Media
To add images or other media, click on the + button and select the Image block. You can upload images from your computer or choose from your media library. You can also add other media types like videos, galleries, and audio files.
Tips for Using Media:
- High-Quality Images: Use high-quality images that are relevant to your content.
- Alt Text: Add alt text to your images for better SEO and accessibility.
- Videos: Embed videos to provide additional value and keep readers engaged.
- Galleries: Use image galleries to showcase multiple images in a visually appealing way.
Step 7: Set Categories and Tags
On the right-hand side of the post editor, you’ll see options to set categories and tags for your post. Categories help organize your content into broad topics, while tags are more specific keywords related to your post.
Tips for Categories and Tags:
- Categories: Choose 1-2 categories that best fit your post.
- Tags: Use specific tags that describe the main topics of your post.
- Consistency: Be consistent with your categories and tags to help readers find related content.
Step 8: Set a Featured Image
A featured image is a visual representation of your post that appears on your blog’s homepage and social media shares. To set a featured image, click on the Featured Image section in the right-hand menu and upload or select an image from your media library.
Tips for Featured Images:
- Relevance: Choose an image that represents the main theme of your post.
- Quality: Use high-resolution images to make your post look professional.
- SEO: Add a descriptive alt text to your featured image for better SEO.
Step 9: Preview Your Post
Before publishing, it’s a good idea to preview your post to see how it will look to your readers. Click the Preview button at the top right of the editor to see a live preview. This allows you to catch any errors and make final adjustments.
Step 10: Publish Your Post
Once you’re happy with your post, it’s time to publish it. Click the Publish button at the top right of the editor. You’ll be asked to confirm, and then your post will go live on your blog.
Post-Publishing Tips:
- Share on Social Media: Share your post on social media platforms to reach a wider audience.
- Engage with Readers: Respond to comments and engage with your readers to build a community.
- Monitor Performance: Use analytics tools to monitor the performance of your post and understand what works best for your audience.
Additional Tips:
- SEO Optimization: Use an SEO plugin like Yoast SEO to optimize your post for search engines. This includes adding meta descriptions, optimizing keywords, and ensuring your content is easy to read.
- Social Sharing: Add social sharing buttons to make it easy for readers to share your content. This can help increase your reach and drive more traffic to your blog.
- Regular Updates: Keep your blog updated with fresh content to engage your audience and improve your site’s ranking. Regularly updating your blog shows readers that your site is active and provides them with new information.
Creating a blog post in WordPress is a great way to share your knowledge and connect with a wider audience. By following these steps and tips, you can create engaging and professional blog posts that resonate with your readers.


